This is an excellent kit for learning the fundamentals of soldering. The Sparkfun Clock is a fun way to keep track of time. It’s a simple alarm clock with a buzzer that’s built on the ever-popular ATMega328 microcontroller. This kit should take you 15-20 minutes to complete if you’re new to soldering. This is a fantastic relaxing project that should take 5-10 minutes if you’re a seasoned soldering master.
We’ve made a few adjustments to this kit to make soldering easier for beginners: We’ve made the ATMega footprint broader so you don’t have to bend any pins, and we’ve added an extra silkscreen print to better show the components’ polarity.

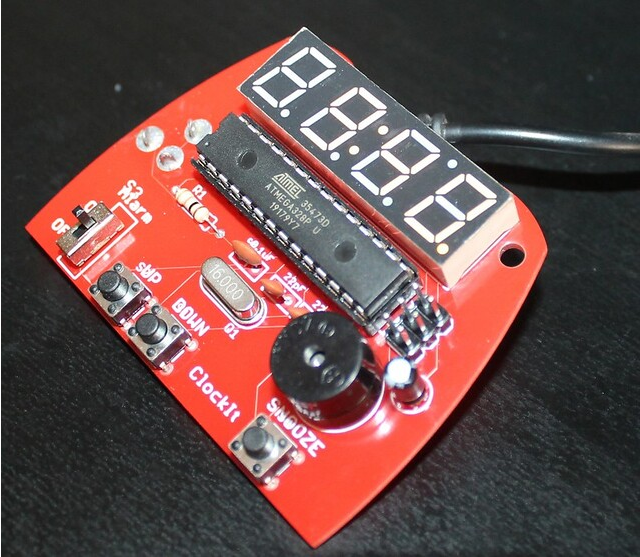
The PCB of the kit
There is no need for a programmer. Firmware is already loaded on the ATmega!
The kit is available for free under a Creative Commons licence. As a result, I took advantage of the privilege and made minor changes to the kit. I changed the size of the resistor to 1/4W and replaced the alarm switch with a new one. Customers who purchase the kit will also receive a 28-pin IC socket.
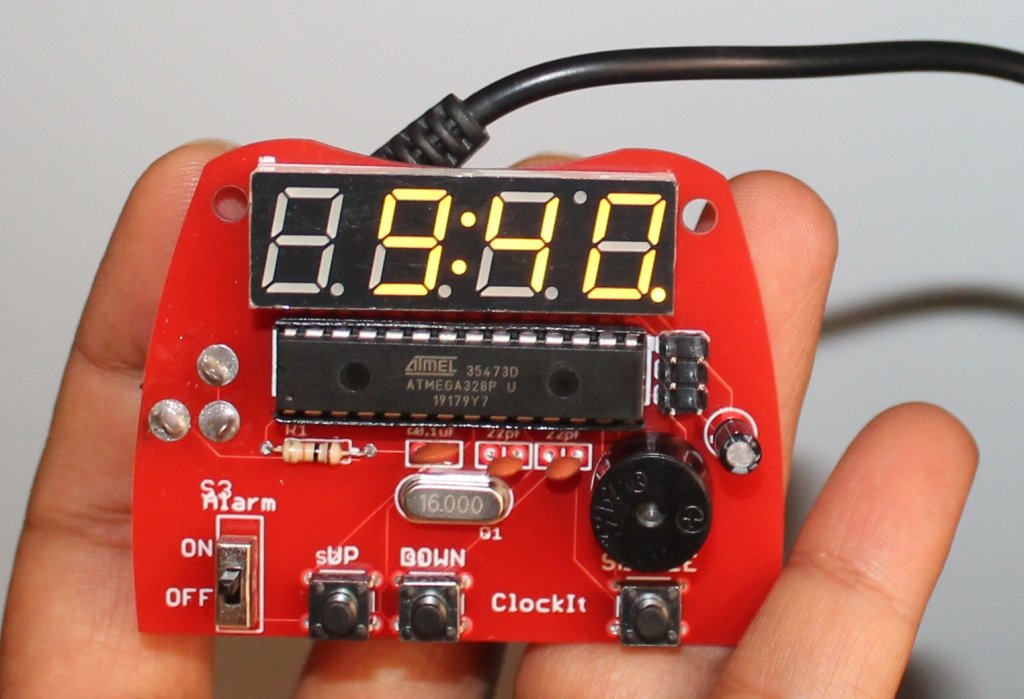
This is my kit:
Features:
- Time (AM/PM)
- Alarm (On/Off)
- Snooze (alarm resumes after a 9 minute snooze)
- How can you set the time?
- To set the time, press UP and DOWN together for 3 secs, you will notice that the display turns bright, then, press up and down to set the time. It’s worth noting that the minutes display only goes up and down.
When you’re finished, press SNOOZE.
It’s worth noting that the top dot denotes AM/PM.
How to set alarm ?
To set the alarm, press SNOOZE for 3 seconds; the display will flash and the previously set(default) alarm time will be shown. The kit enters the alarm set mode when the flash appears. Then, to set the alarm time, push UP and DOWN. It’s worth noting that the’minutes’ display will only go up and down. When you’re finished, press SNOOZE. It’s worth noting that the top dot denotes AM/PM.
How can you check the alarm time that you’ve set?
By pushing the SNOOZE button once, you may check the alarm time.
Is the time displayed correctly?
I’ve used this kit for over a month and the clock is quite accurate.
Components included in the kit package:
- 1 x ClockIt PCB
- 1 x ATmega328 (pre-programmed)
- 1 x 4-digit display
- 1 x Piezo Speaker
- 1 x 10uF cap
- 1 x 0.1uF cap
- 2 x 22pF caps
- 1 x 10k resistor
- 1 x 16MHz crystal
- 1 x barrel jack
- 1 x mini power switch
- 3 x push-button reset switches
Check out all the images of the kit below. You can see the images on Flickr also.


