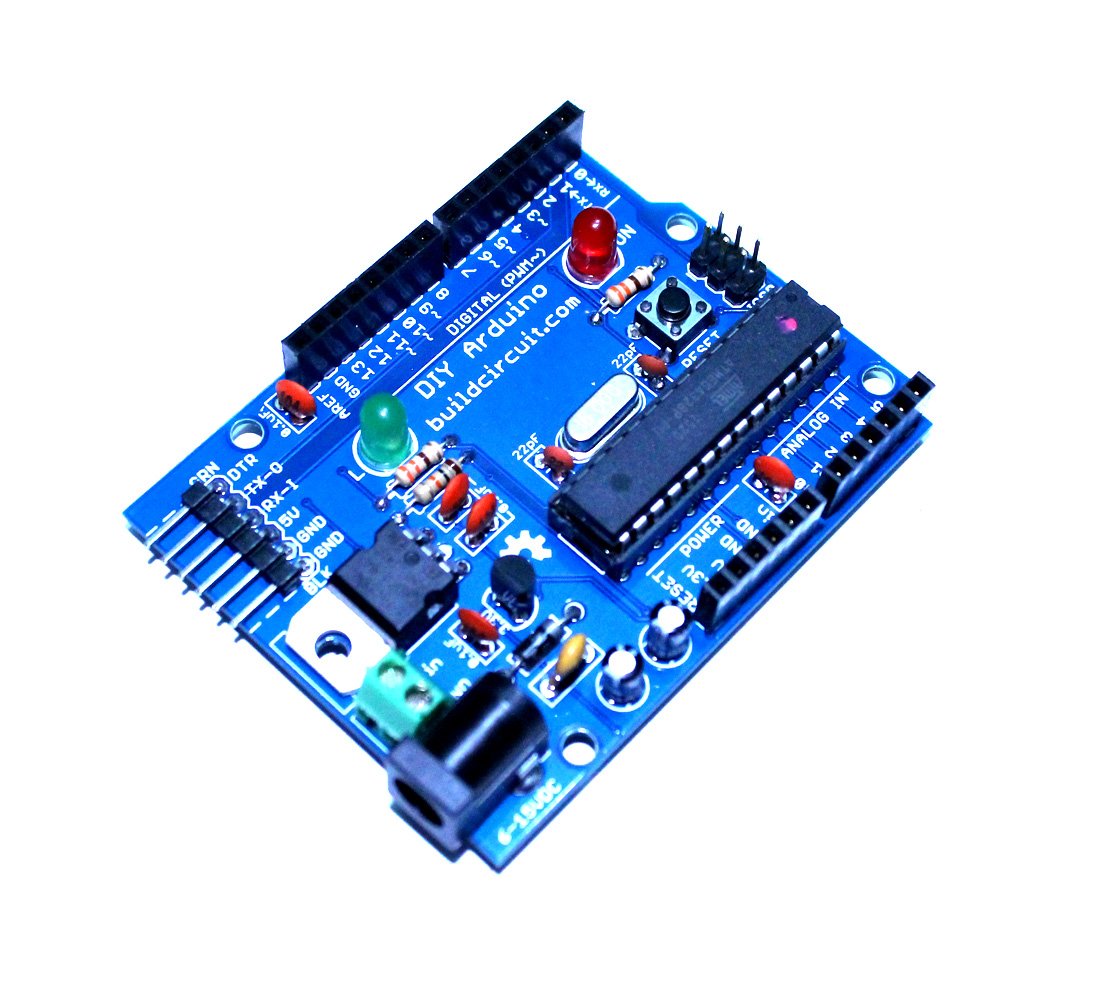
 You’re probably aware that Arduino hardware comes in a variety of configurations. Arduinos have also been manufactured on strip boards, offering them a variety of aesthetics. Here’s another Arduino, this time in the form of a basic do-it-yourself (DIY) kit. It works in the same way as any other Arduino UNO board. However, because it lacks the FT232RL chip, you’ll need to use a separate FTDI basic module to burn your sketch.
This kit includes everything you’ll need to make your own Uno-compatible Arduino board at home. Following the assembly guide, you’ll have a fully working Arduino-compatible development board after some simple soldering. Simply solder everything together, attach an FTDI Basic, and load your favourite sketch using the Arduino IDE. The bundled ATmega328 comes pre-loaded with the “Optiboot” bootloader, so you don’t have to worry about installing the firmware.
The board may be powered by an FTDI connection or a regulated 6–15 VDC power source attached to either the DC barrel jack or the 2 pin screw terminal after it has been constructed.
To use the Arduino IDE to load code, you’ll need an FTDI Basic or FTDI cable.
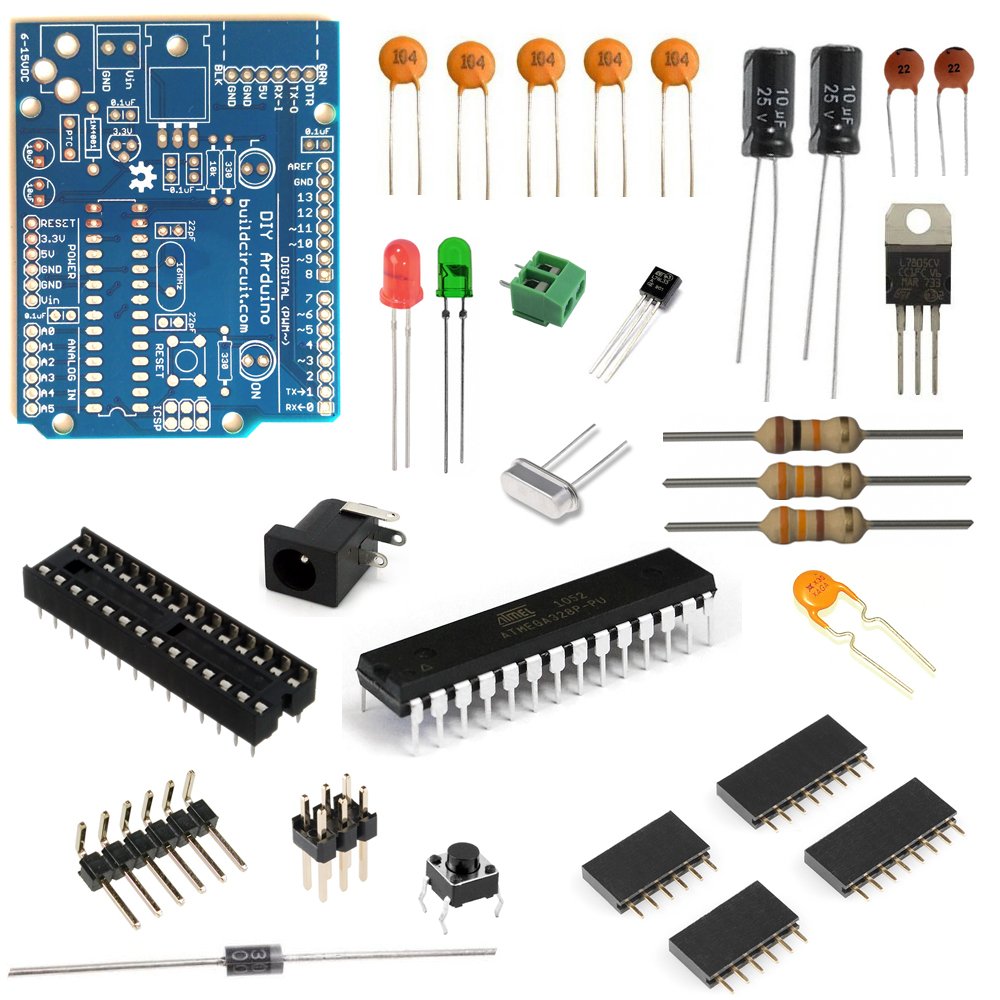
Kit Includes:
- 1 x Arduino-Compatible plated through holes (PTH) Kit PCB
- 1 x ATMega328 with Optiboot bootloader
- 1 x L78L33 3.3V Voltage Regulator
- 1 x 5mm Green LED
- 1 x 5mm Red LED
- 2 x 330Ohm Resistor
- 1 x 10kOhm Resistor
- 1 x 16MHz Crystal
- 2 x 22pF Ceramic Capacitors
- 5 x 0.1uF Ceramic Capacitors
- 2 x 10uF Electrolytic Capacitors
- 1 x LM7805 5V Regulator
- 1 x Diode 1N4001
- 1 x Resettable Fuse PTC (300mA)
- 1 x 28-Pin DIP Socket (To seat your ATMega)
- 1 x Push Button Reset Switch
- 2 x 6-Pin Female Headers
- 2 x 8-Pin Female Headers
- 1 x 6-Pin Right Angle Header (To connect your FTDI Basic)
- 1 x 0.1uF Capacitor
- 1 x DC Barrel Jack
- 1 x 2-pin screw terminal
- 1 x 6 pin ICSP header
Assembly video tutorial:
Documents:


i can get the pcb layout of this project?
http://www.buildcircuit.com/wp-content/uploads/2014/04/DIY-Arduino.pdf
I can buy only the pcb?